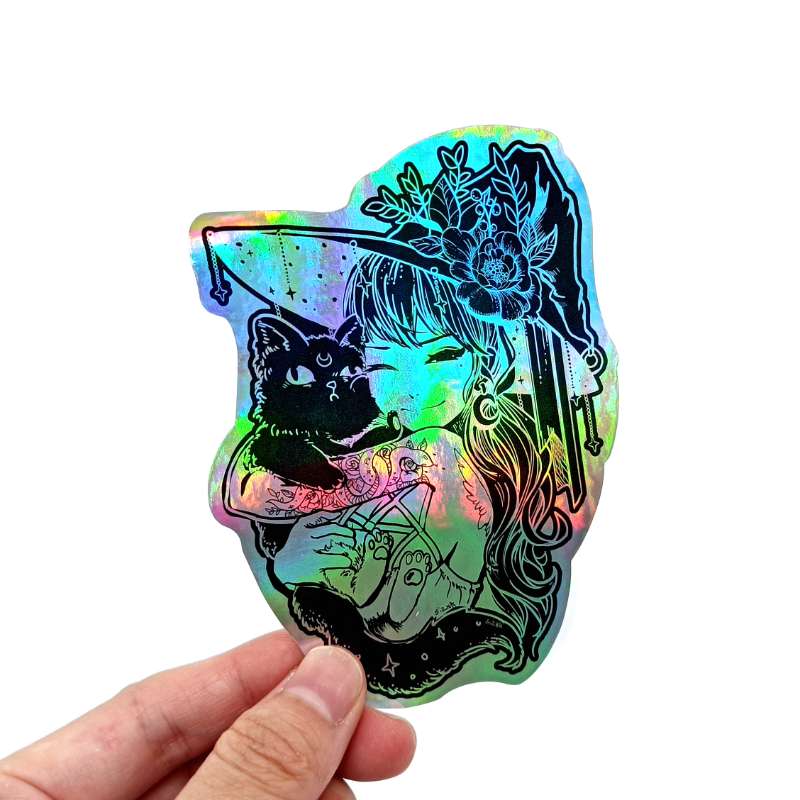
Custom die-cut stickers offer endless creative possibilities, allowing you to create unique shapes and designs that stand out.
Whether for branding, promotions, or personal expression, die-cut stickers add flair and personality to any surface.
In this guide, we’ll explore the process of making custom die-cut stickers.
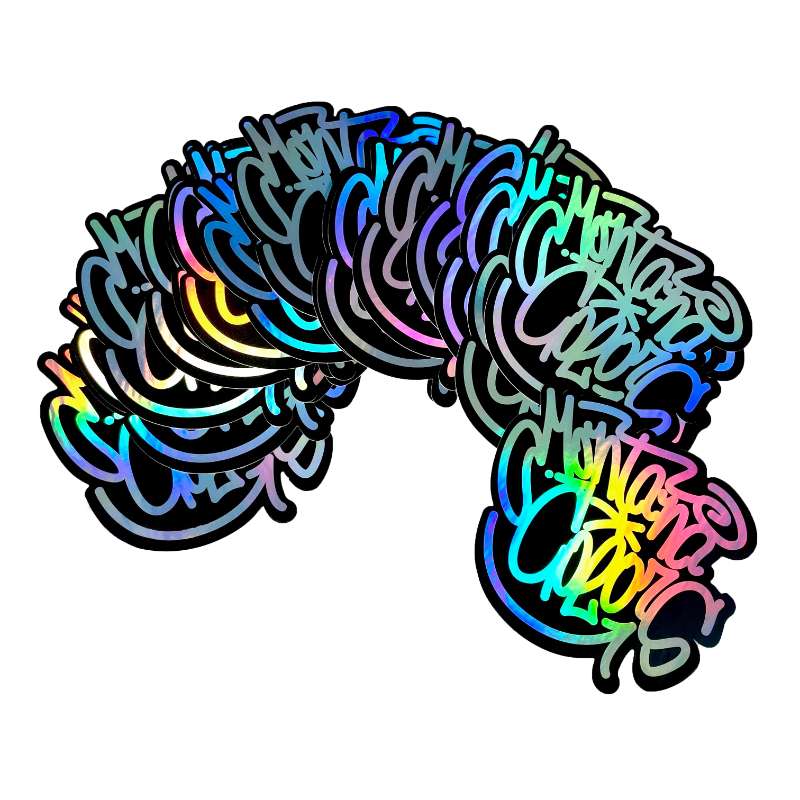
Design Creation:
Define Your Design:
Determine the purpose and aesthetic of your die-cut stickers. Whether it’s for branding, product labeling, or personal expression, clarify your design objectives to guide the creative process.
Choose a Shape:
Select the desired shape for your die-cut stickers. This could be a simple shape such as a circle or square, or a more intricate shape that complements your design.
Design Software:
Use graphic design software such as Adobe Illustrator or Canva to create your sticker design. Ensure that your design fits within the dimensions of your chosen sticker shape.
Material Selection:
Sticker Material:
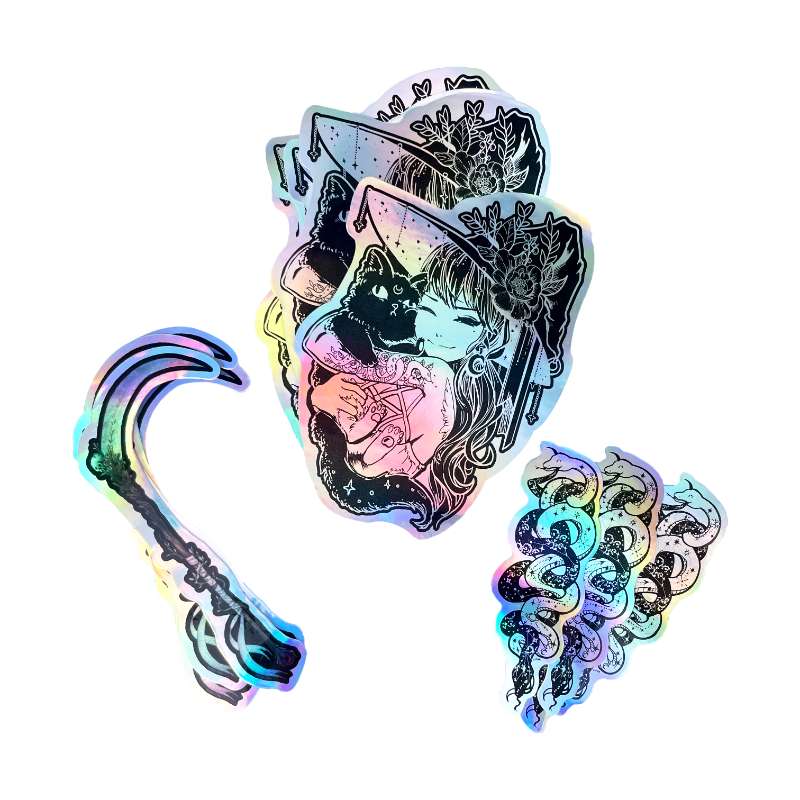
Choose a suitable sticker material based on your intended use and environment. Options include vinyl, paper, or synthetic materials. Consider factors such as durability, weather resistance, and adhesive strength.
Matte or Glossy Finish:
Decide whether you want a matte or glossy finish for your stickers. Matte finishes offer a subtle, understated look, while glossy finishes provide a vibrant, high-shine appearance.
Printing Process:
Printing Method:
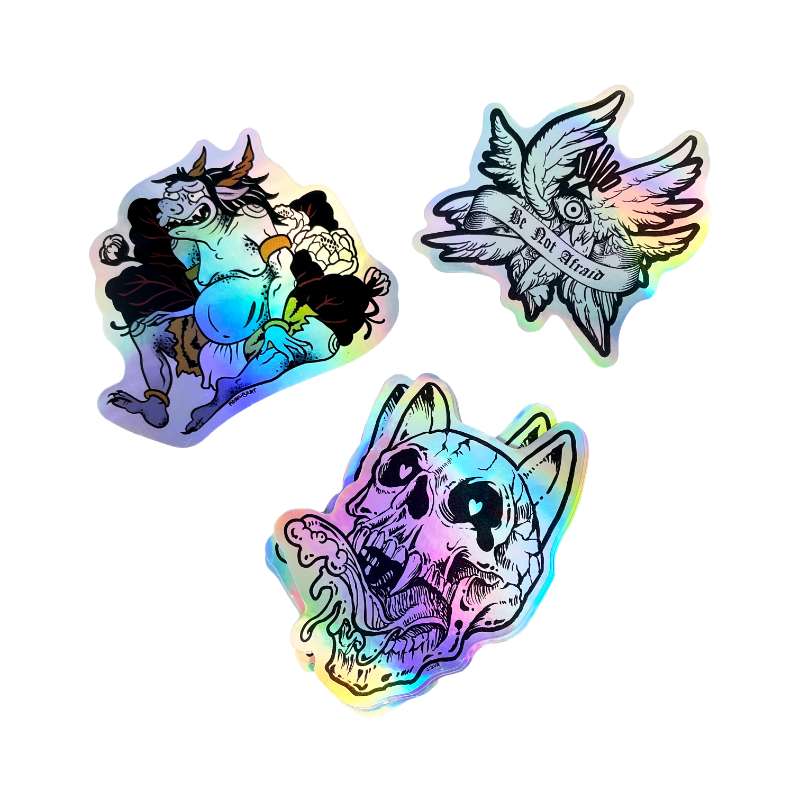
Select a printing method that suits your design and budget. Digital printing is ideal for full-color designs and smaller print runs, while offset printing is more cost-effective for larger quantities.
Test Print:
Before printing the full batch of stickers, conduct a test print to ensure color accuracy and print quality. Make any necessary adjustments to the design or printing settings.
Die-Cutting:
Create a Die-Cut Template:
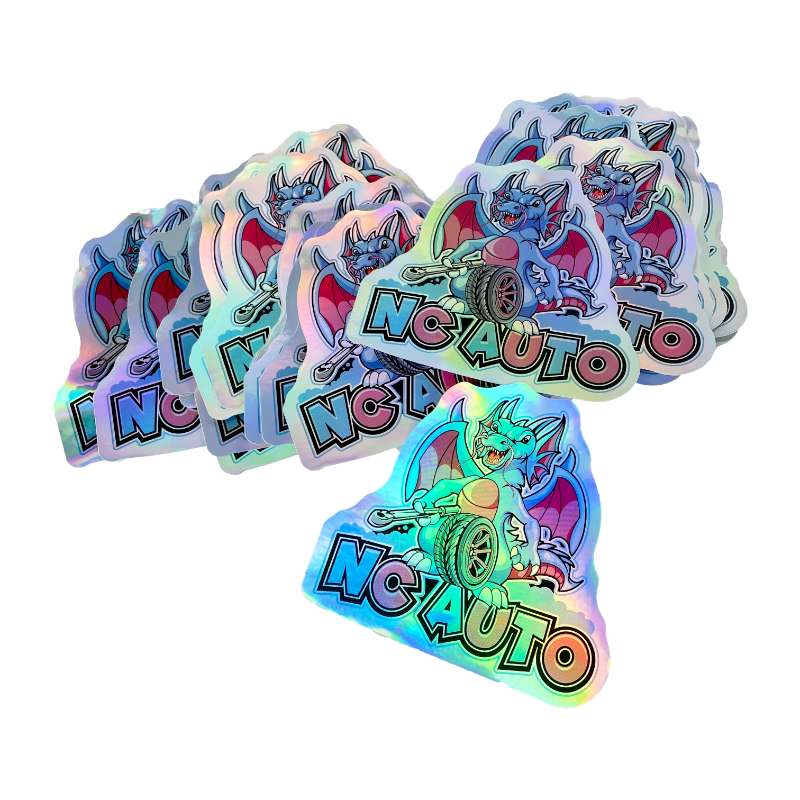
Use your design software to create a die-cut template that outlines the shape of your stickers. This template will guide the die-cutting process.
Die-Cutting Machine:
Send your printed sticker sheets to a professional printing company or invest in a die-cutting machine if you plan to produce stickers in-house. Die-cutting machines use sharp blades or lasers to cut the stickers to your desired shape.
Precision Cutting:
Ensure that your die-cut stickers are cut precisely along the edges of your design. This will give your stickers clean, professional-looking edges.
Quality Control:
Inspect Each Sticker:
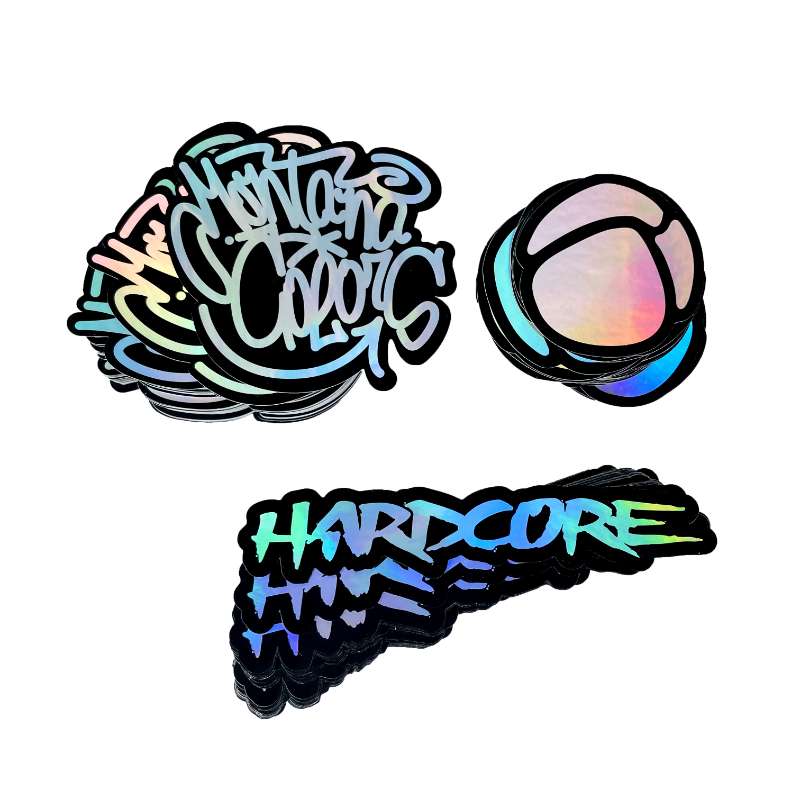
Thoroughly inspect each die-cut sticker for any printing defects, misalignment, or imperfections. Remove any flawed stickers from the batch to maintain quality standards.
Check Adhesive Quality:
Test the adhesive strength of your stickers by applying them to various surfaces. Ensure that the stickers adhere securely without peeling or lifting.
Application and Usage:
Application Instructions:
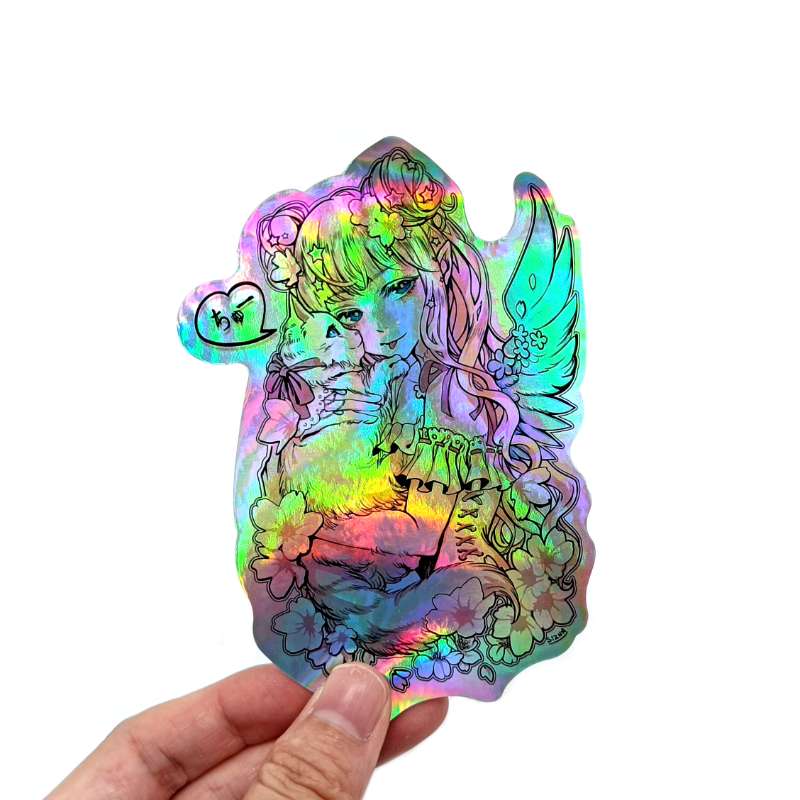
Provide clear instructions on how to apply your die-cut stickers to different surfaces. Include tips for surface preparation and proper application techniques.
Explore Creative Uses:
Experiment with different ways to use your die-cut stickers. They can be applied to products, packaging, promotional materials, laptops, water bottles, and more.
Share Your Creations:
Showcase your custom die-cut stickers on social media and your website. Encourage customers to share photos of their sticker applications for added exposure. Creating custom die-cut stickers is a fun and versatile way to express your creativity and promote your brand. By following these steps, you can design and produce high-quality stickers that make a lasting impression.
