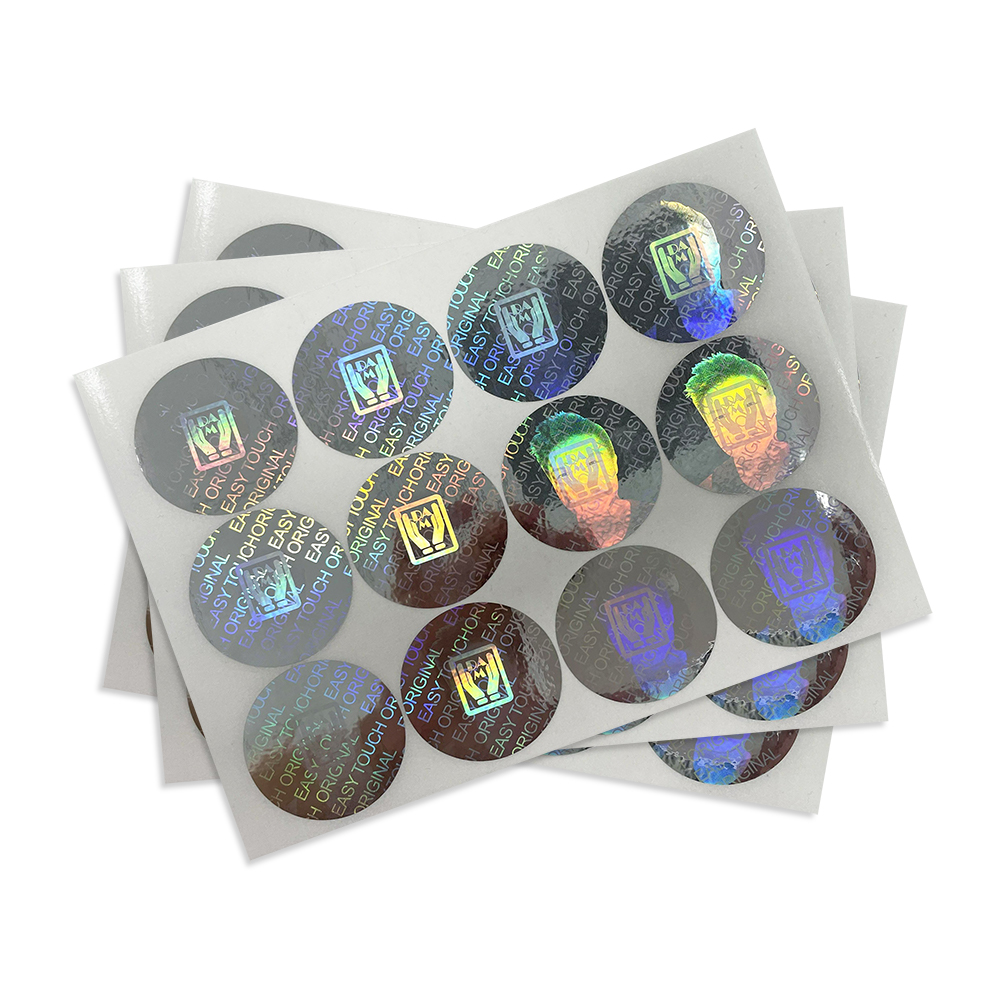
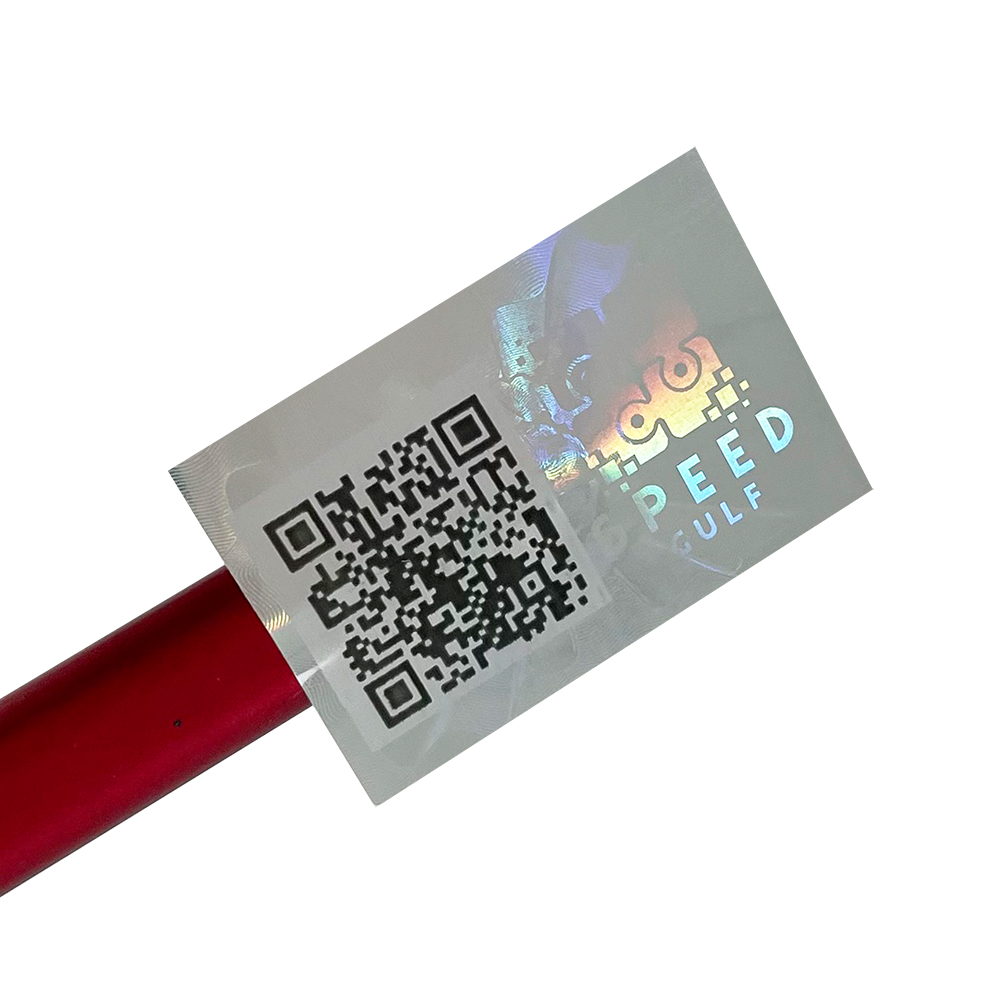
Double – sided stickers use adhesive on both sides to carry advertisements and product information. By relying on this external presentation, they attract consumers’ attention and encourage them to learn about and purchase the product.
I. Understand the Adhesive Principle: Why Do Stickers Stick?
The key to why double – sided stickers can stick to objects lies in the “tackiness” and “cohesion” of the glue. The adhesive principle of double – sided stickers relies entirely on the glue for sticking, allowing them to hold labels in place through this stickiness.
Tackiness: This refers to the attraction between the glue and the object’s surface, like the glue “shaking hands” with the object. The stronger this “handshake,” the harder it is for the sticker to fall off the surface.
Cohesion: This is the bonding force between glue molecules, similar to the “team unity” within the glue. If cohesion is insufficient, the glue itself will break, causing the sticker to fail.
There are two common types of glue for double – sided stickers:
Water – based glue: Uses water as a solvent, is eco – friendly but has weak initial tackiness. Suitable for pasting lightweight items like paper.
Oil – based glue: Uses organic solvents, has strong adhesion and water resistance, but may have a slight odor. Suitable for smooth surfaces like metal and plastic.
II. Core Ideas for Enhancing Stickiness: Focus on “Selection, Use, and Maintenance”
(1) Choose the Right Sticker: Pick the “Right Player” for Your Needs
Select Specialized Stickers for Unique Scenarios
High – temperature environments: Choose heat – resistant silicone or acrylic glue stickers, which can withstand temperatures above 120°C. Special heat – resistant materials help the sticker stay in place even in high temperatures.
Humid environments: Choose waterproof stickers, usually labeled “Waterproof” or “Moisture – Proof” on the packaging.
Children’s crafts: Choose washable rice glue stickers, which have moderate stickiness, are safe, and non – toxic. If they get on hands, they can be washed off with water.
(2) Use Correctly: 5 Details That Determine Success
Prepare the Surface: Clean + Dry + Roughen
Clean the surface: Wipe off dust, oil, and stains with an alcohol pad or damp cloth, especially on kitchen or bathroom tiles where oil can severely reduce stickiness.

Wrong example: Sticking directly to a dusty glass—dust acts like “small stones” that separate the glue from the glass, causing the sticker to bubble.
Ensure dryness: A wet surface can dilute water – based glue or emulsify oil – based glue. Dry the surface with a tissue or wait for it to air – dry before pasting.
Roughen the surface (optional): For overly smooth surfaces (like stainless steel basins), gently sand the surface with sandpaper to add tiny grooves, but be careful not to grind through the sticker’s base material.
Sticker Opening and Application Tips
Use soon after opening: Glue exposed to air will gradually absorb moisture or lose solvents, especially for water – based stickers. It is recommended to use them within 3 months after opening.
Apply from the center outwards: Align the center of the sticker with the pasting position, and press from the center to the edges with your fingers or a card to squeeze out air like squeezing toothpaste, reducing bubbles.
Tool recommendation: A manicure “stamping rod” or an old credit card—their rounded edges are less likely to scratch the sticker.
Let it sit importantly: Wait at least 24 hours before applying weight to give the glue enough time to “bond closely” with the surface. If in a hurry, reinforce the edges with transparent tape.
Temperature and Humidity Control
Winter warm – up method: Before pasting, use a hair dryer on low heat (held 10 – 15 cm away) to warm the sticker for 10 – 20 seconds to soften the glue; warm it for another 5 seconds after pasting to help the glue penetrate the surface.
Rainy – season moisture – proof method: In humid weather, first apply a layer of dry tissue or moisture – proof film to the pasting area, then stick the sticker to reduce moisture interference.
Multi – Layer Pasting and Reinforcement Techniques
Layered pasting: If a single layer is not sticky enough, overlap 2 – 3 layers, but make sure each layer is perfectly aligned to avoid edge curling.
Cross – reinforcement method: After pasting, apply transparent tape horizontally and vertically on the sticker to form a “cross,” especially suitable for items like photo frames or hooks that need horizontal support.
Auxiliary fixing method: When pasting heavy objects, temporarily fix them with masking tape for 24 hours, then remove the masking tape after the glue is fully cured to prevent the sticker from shifting.

Remedy for Wrong Pasting
If misaligned but not fully fixed: Gently lift the edge, dip a toothpick in a little essential balm or nail polish remover, apply it to the glue, wait 10 seconds, then slowly peel off the sticker. Clean the remaining glue with alcohol.
If fully stuck and needs removal: Use a hair dryer on high heat (held 20 cm away) to warm the glue for 3 – 5 minutes, then slowly peel off the sticker. Remove residual glue with an eraser or specialized adhesive remover.
Note: Avoid scraping with a blade, as it may scratch the surface!
(3) Daily Maintenance: Extend Sticker Lifespan
Avoid Frequent Touch and Friction
Try not to touch the pasted sticker repeatedly with your hands, especially oil – based glue stickers, as the oil from your hands can penetrate the glue layer and reduce stickiness.
In high – traffic areas like children’s rooms or hallways, cover the sticker with a transparent PVC protective film to prevent wear from friction.
Regular Inspection and Reinforcement
Press the edges of the sticker with your hand every week to check for curling. If slight curling is found, dip a toothpick in a little white glue, apply it to the gap, and press with a heavy object overnight.
After high temperatures in summer or the rainy season, inspect stickers in kitchens and bathrooms first, and replace old or ineffective stickers promptly.


