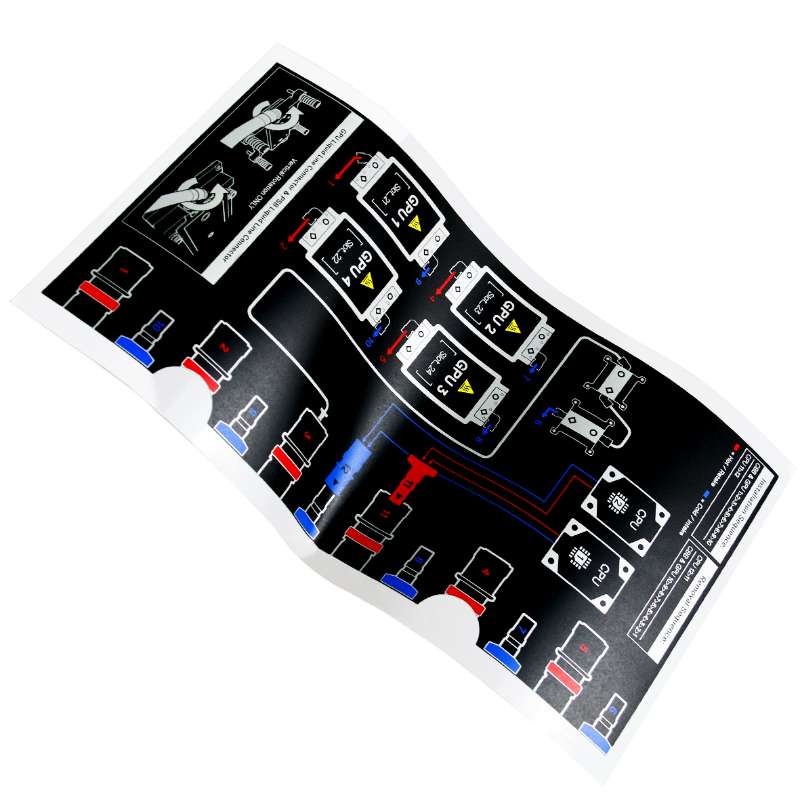
PC (polycarbonate) panel stickers are commonly used for branding, labeling, or decorative purposes on electronic devices, appliances, and machinery.
Customizing PC panel stickers allows you to add branding elements, product information, or unique designs to enhance the appearance and functionality of your products.
In this guide, we’ll explore the process of customizing PC panel stickers, from material selection to application techniques.
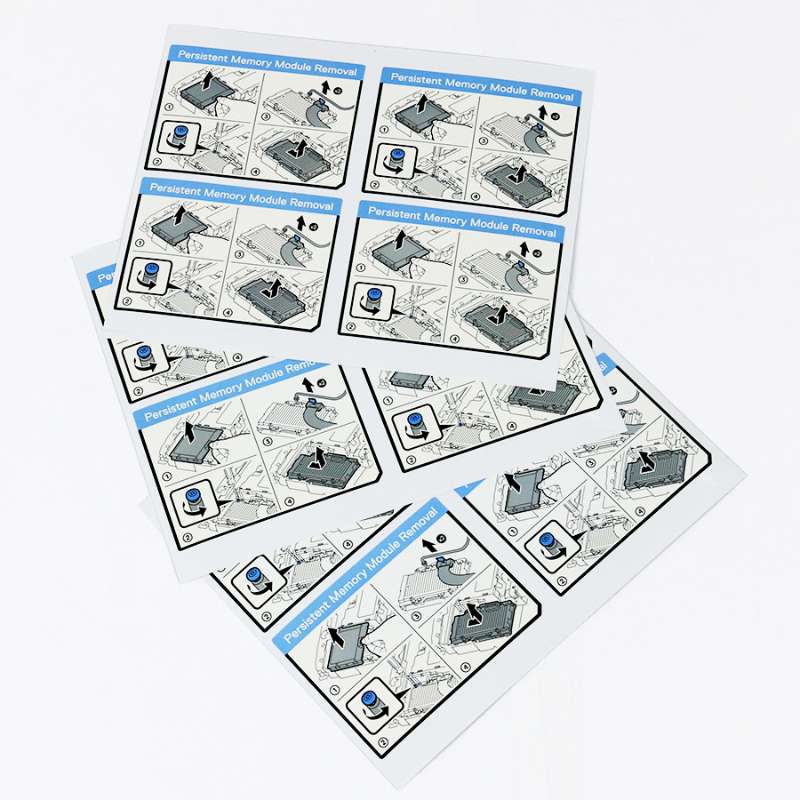
Material Selection:
Choose High-Quality PC Material:
Select PC material that is durable, scratch-resistant, and suitable for the intended application environment. PC panel stickers should withstand exposure to heat, moisture, and UV radiation without deteriorating.
Consider Surface Finish:
Decide whether you prefer a glossy, matte, or textured surface finish for your PC panel stickers. Each finish offers different visual and tactile properties, so choose one that complements your design aesthetic and application requirements.
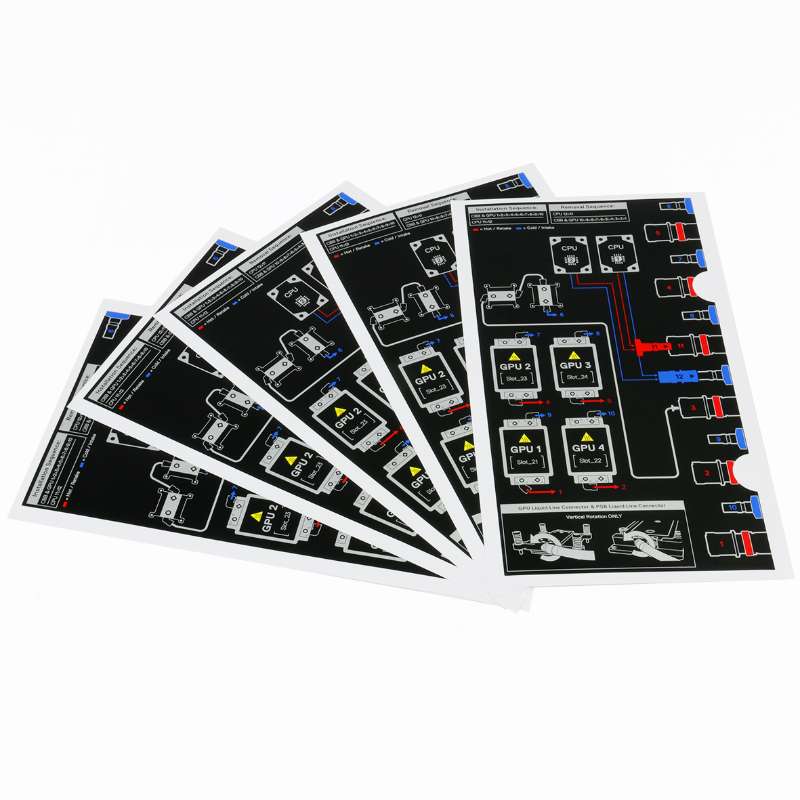
Design Creation:
Define Your Design Objectives:
Clarify the purpose and message of your PC panel stickers to guide the design process. Whether it’s for branding, product identification, or instructional purposes, a clear design objective ensures coherence and effectiveness.
Optimize for Legibility:
Ensure that text and graphics are clear, legible, and properly scaled to fit the size of the PC panel stickers. Avoid overcrowding the design with excessive details, as this can compromise readability and visual impact.
Incorporate Branding Elements:
Integrate your brand’s logo, colors, and visual identity elements into the design to reinforce brand recognition and consistency across products.
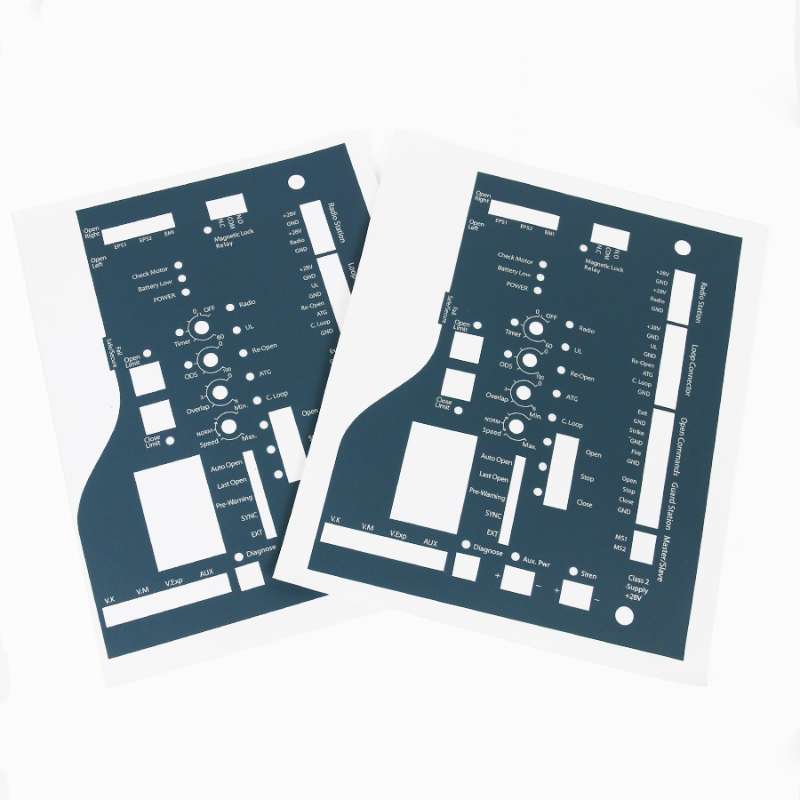
Printing Process:
Choose Printing Method:
Select a printing method suitable for PC material, such as screen printing, digital printing, or UV printing. Consider factors such as color accuracy, resolution, and cost-effectiveness when choosing the printing method.
Test Print:
Conduct a test print to ensure color accuracy, resolution, and overall print quality before proceeding with full-scale production. Make any necessary adjustments to the design or printing settings to achieve the desired results.
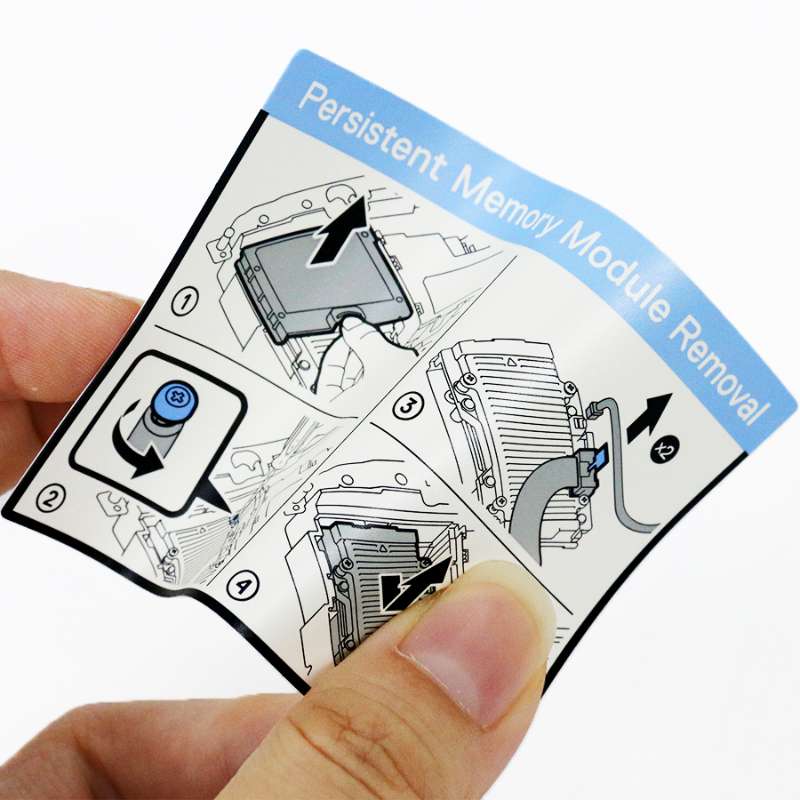
Finishing Touches:
Apply Protective Coating:
Consider applying a clear protective coating or laminate over the printed PC panel stickers to enhance durability and resistance to scratches, chemicals, and UV radiation. Choose a coating that is compatible with PC material and provides the desired level of protection.
Cut to Size:
Use a precision cutting tool or laser cutting machine to trim the PC panel stickers to the desired shape and dimensions. Ensure clean edges and accurate cutting for a professional finish.
Quality Assurance:
Inspect each PC panel sticker for any defects or imperfections, such as color discrepancies, misalignment, or printing errors. Remove any defective stickers and replace them with high-quality ones to maintain consistency and quality standards.
Application and Usage:
Surface Preparation:
Clean the surface of the PC panel thoroughly to remove any dust, dirt, or debris that may interfere with adhesion. Ensure that the surface is dry before applying the stickers to promote proper adhesion.
Proper Application Technique:
Carefully peel off the backing of the PC panel stickers and align them with the desired location on the panel. Press firmly to ensure full contact and smooth out any air bubbles or wrinkles using a squeegee or credit card.
Maintenance Tips:
Provide users with guidance on how to maintain the appearance and longevity of PC panel stickers, such as avoiding abrasive cleaners or prolonged exposure to sunlight. Recommend gentle cleaning methods and periodic inspection to ensure optimal performance.
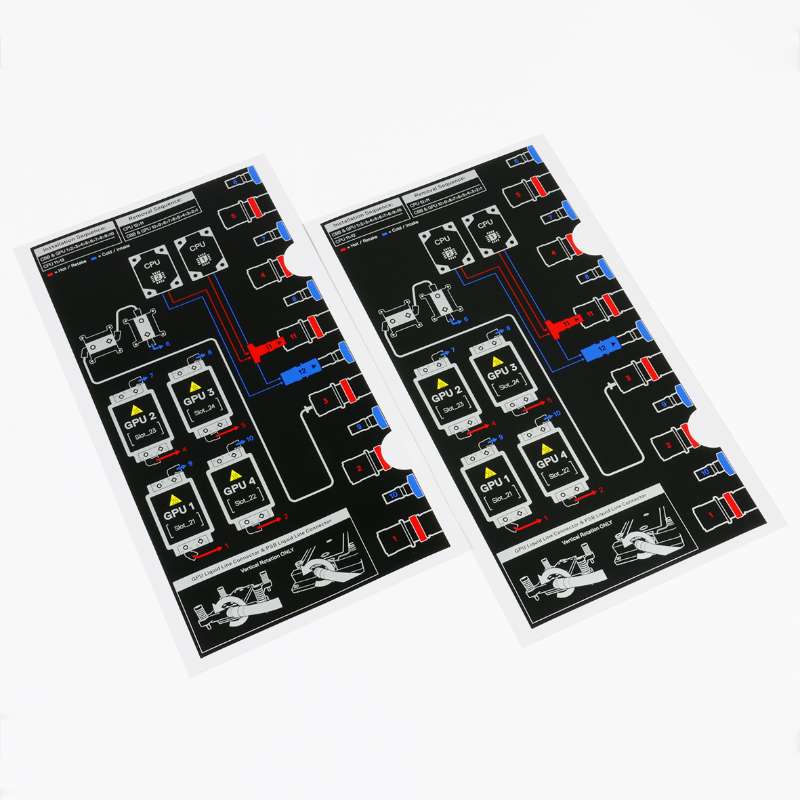
Customizing PC panel stickers offers endless possibilities for adding branding, information, or decorative elements to your products.
By following these steps and guidelines, you can create high-quality,
customized PC panel stickers that enhance the visual appeal and functionality of your products while reinforcing brand identity and recognition.
