3D Stickers Production Process Explained for Industrial Buyers
In a crowded marketplace, the tactile “pop” of a three-dimensional emblem can be the exact difference between a premium piece of equipment and a generic alternative. According to industrial branding analysts, customers intuitively associate the physical weight and clarity of a product’s badge with the underlying quality of the machine itself. Securing that visual edge, however, relies heavily on custom 3D emblem manufacturing techniques that extend far beyond standard commercial printing. For procurement and marketing professionals, knowing how these decals are made is essential for protecting your brand from embarrassing field failures like cracking, yellowing, or peeling.
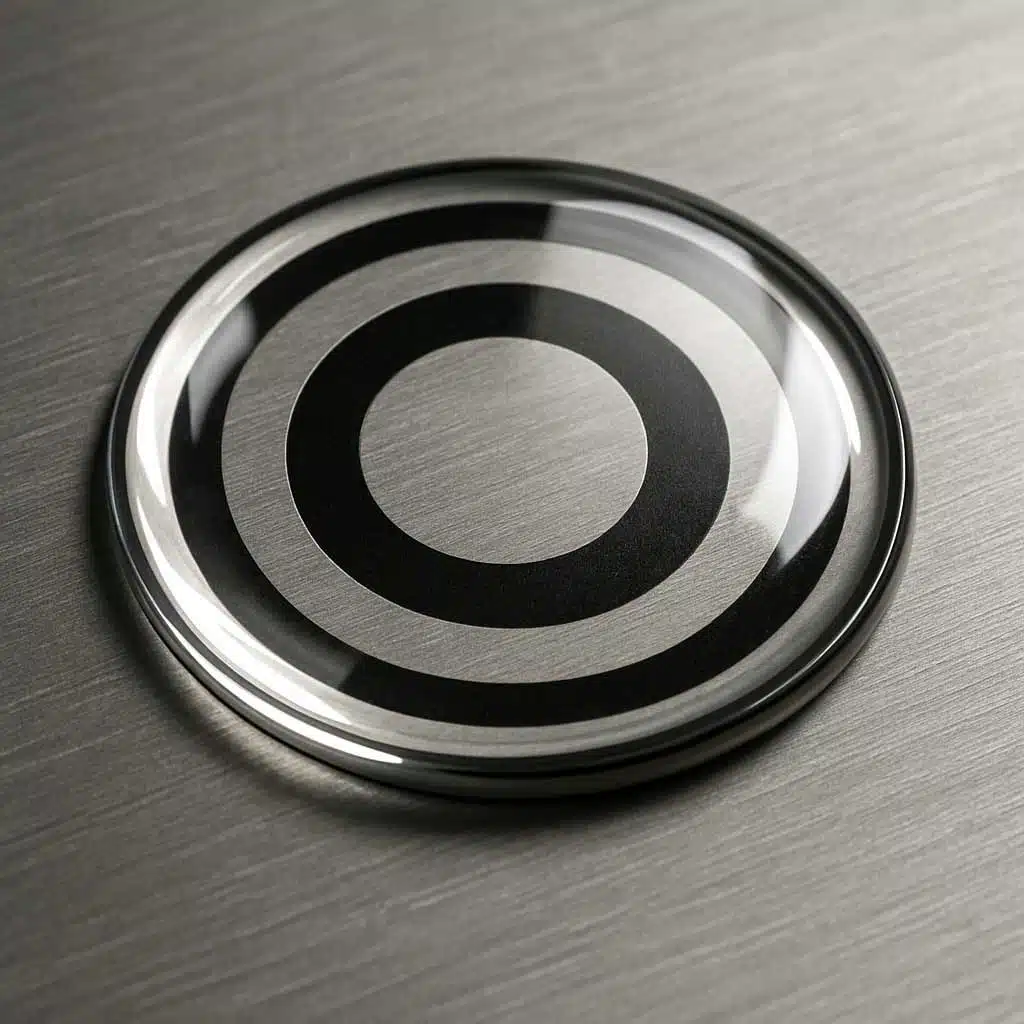
To properly evaluate industrial grade resin label durability, you first need to understand the three-part anatomy of the badge. Think of the base substrate as your canvas; it holds both the specialized ink and the industrial-strength adhesive that grips your product’s surface. Atop this canvas sits the protective lens, created through a highly controlled doming process where liquid resin is precisely dispensed to form a pristine, protective bubble. This structural interaction relies on resin-substrate synergy, requiring the ink to chemically bond with the dome rather than reject it, ensuring the layers never separate under mechanical stress.
The manufacturing environment directly dictates a 3D emblem’s field survival. Industry data reveals that choosing the wrong chemical compound—such as opting for a cheaper epoxy instead of a UV-resistant polyurethane—results in rapid degradation when exposed to outdoor sunlight or salt spray. By treating the production process as the primary driver of field reliability, buyers can confidently source badges that maintain their crystal-clear finish for the entire lifespan of the product.
Table of Contents
The Three-Layer Foundation: Why Substrate and High-Tack Adhesive Choice Prevents Peeling
You’ve seen the frustration of a branded badge curling at the edges on an HVAC unit or medical device just months after deployment. This failure almost always stems from a mismatch between the adhesive and the product’s surface energy. Think of low-surface-energy plastics like a non-stick frying pan; standard glues simply fail to grip. Selecting high-tack adhesives for domed emblems solves this by utilizing aggressive formulations designed specifically to bite into these rigid, textured, or low-bond surfaces, ensuring zero-failure rates over the product’s lifespan.
Once the adhesive foundation is secure, it must be paired with the right base layer, or canvas, to hold your printed graphic. Achieving true substrate compatibility for industrial labels requires matching this material to the exact environmental stressors your product will face in the field:
Polyester: The standard for high-heat environments like engine bays, offering incredible tear resistance and dimensional stability.
Vinyl: Highly flexible, making it the ideal choice for curved surfaces or products exposed to frequent moisture.
Aluminum: Provides a rigid, premium metallic finish perfect for heavy-machinery branding that demands maximum abrasion resistance.
Locking down this architecture—the exact combination of a specialized substrate and a high-tack grip—is what ultimately guarantees industrial grade resin label durability. However, even the most robust foundation cannot compensate for a top coat that degrades in the sun. Ensuring the lens remains crystal clear for the 5-year life of your product depends entirely on the resin chemistry used during production.
The Clear Advantage: Why Mercury-Free Polyurethane Outlasts Epoxy in Outdoor Applications

Nothing damages a premium product’s perceived value faster than a branded badge that hardens and yellows within its first year of field use. This rapid UV degradation is the hallmark of standard epoxy—a cheaper, brittle material often pitched to unsuspecting buyers to undercut pricing. While epoxy looks excellent on day one, sustained sunlight breaks down its chemical structure, leading to a cloudy, amber-tinted finish that practically screams “budget component.”
Protecting your brand’s integrity requires understanding the fundamental difference between epoxy and polyurethane resin. Polyurethane is engineered with inherent polymer flexibility, meaning it absorbs impact and expands with temperature changes rather than fracturing. When evaluating the outdoor weather resistance of 3D decals, industrial buyers must account for three critical polyurethane advantages over cheap epoxy substitutes:
UV Stability: Polyurethane acts like a heavy-duty sunscreen for the underlying substrate, preventing yellowing for 5+ years even in constant, direct sunlight.
Dynamic Flexibility: Unlike rigid epoxy that cracks under stress, polyurethane bends with curved surfaces and “heals” from minor surface impacts.
Long-Term Clarity: The lens remains optically transparent, ensuring safety warnings or metallic logos stay crisp and highly legible over the product’s lifespan.
Beyond durability, modern procurement also demands regulatory compliance. Sourcing components with modern curing catalysts provides critical mercury-free polyurethane resin benefits, ensuring your emblems meet strict RoHS and REACH standards without sacrificing their premium, high-gloss finish. Yet, even the highest-grade, eco-compliant resin will fail if it is applied haphazardly, making automated precision engineering essential for consistent, bubble-free application.
Precision Engineering: How Automated Resin Dispensing Prevents Bubbles and Inconsistency
Transforming premium polyurethane into a flawless 3D lens requires more than a steady hand. Like a drop of water perfectly beaded on a coin, the resin relies on precise surface tension to form its raised shape without spilling over the edge. While manual pouring might suffice for small prototype batches, understanding the impact of automated vs manual resin dispensing is the dividing line for industrial production. CNC-controlled machines dispense the exact micro-liter volume required, ensuring uniform, edge-to-edge coverage across thousands of units without the costly spillover or under-filling associated with human error.
Meeting strict bulk domed sticker printing requirements means eliminating microscopic flaws before the liquid ever touches the substrate. Industrial suppliers guarantee a premium, repeatable finish through this four-step CNC workflow:
Vacuum Degassing: Raw resin is placed under high vacuum pressure to extract trapped air, stripping out the hidden pockets that cause internal bubbles.
Dynamic Mixing: The two-part polyurethane seamlessly blends through a static nozzle, ensuring a homogeneous, streak-free chemical reaction.
CNC Positioning: A robotic gantry precisely aligns the dispensing valve over the substrate, matching the exact contour of the die-cut label.
Volumetric Pouring: The system releases a mathematically calculated dose, allowing surface tension to pull the clear liquid perfectly to the label’s border.
Automated dispensing gives buyers confidence that every badge will look perfectly identical. Yet, precisely dispensing the liquid is only half the manufacturing equation. Once the resin forms that pristine lens, it must solidify without capturing airborne dust or ambient moisture—making the environmental control of the next phase absolutely critical.
The Waiting Game: Why Controlled Curing Environments Determine Crystal Clarity

Even perfectly dispensed resin can be ruined if the surrounding air isn’t meticulously managed. Much like a climate-controlled proofing drawer for baking, the final polyurethane doming process steps demand a dust-free, humidity-regulated facility to ensure crystal clarity. If high atmospheric moisture interacts with the liquid during this vulnerable phase, microscopic clouding occurs, permanently compromising the premium finish required for high-stakes applications like heavy machinery or HVAC control panels.
Procurement teams often ask exactly what is the curing time for resin stickers to finalize their assembly schedules. While the domes might appear solid to the touch within a few hours, they typically require a strict 12- to 24-hour window in a controlled environment to fully harden. Rushing these sheets into bulk packaging prematurely risks surface indentations from stacking, entirely destroying the smooth, tactile lens that defines a high-quality badge.
Verifying this durability long before the product reaches the field separates reliable suppliers from generic print shops. Buyers should always request documentation on environmental testing for industrial 3D labels, specifically demanding accelerated aging tests like salt spray exposure or UV weathering results to guarantee field performance. Validating these rigorous quality gates enables accurate cost optimization for bulk 3D decal orders.
Scalable Procurement: Optimizing Costs for Bulk 3D Decal Orders
Maximizing the cost-effectiveness of wholesale 3D decal orders requires looking beyond basic volume discounts to understand how suppliers actually print. Because the liquid polyurethane is dispensed onto flat, pre-printed sheets, the real secret to lowering your unit cost is optimizing sheet utilization. Buyers who collaborate with manufacturers to slightly adjust their initial badge dimensions can often fit significantly more units onto a single sheet, driving down the overall price without sacrificing an ounce of visual impact.
Factoring in the unalterable chemistry of this process is equally critical for keeping your own assembly lines moving. A scalable 3D badge production workflow must seamlessly accommodate the 48- to 72-hour window required for printing, precision pouring, and complete resin curing. Expediting this phase essentially guarantees surface defects; instead, proactive procurement schedules should bake in this mandatory lead time to ensure flawless, repeatable delivery for demanding applications like automotive logos or heavy machinery panels.
To establish a reliable supply chain, industrial buyers must standardize their bulk domed sticker printing requirements before ever placing an order. Your high-quality 3D sticker Request for Quote (RFQ) checklist should always specify:
The exact adhesive type required for your product’s surface (e.g., high-tack for textured plastics)
Explicit polyurethane material requirements to avoid cheap epoxy substitutions
Requests for documented accelerated aging and UV-resistance tests
Establishing these rigid quality gates up front ensures a secure, reliable supply chain for all future orders.
Securing Your Supply Chain: A 3-Step Action Plan for Industrial Buyers
You no longer have to view domed labels as simple stationery orders. These decals are engineered components designed to withstand severe environmental stressors. Recognizing the rigorous curing cycles and precise material layering shifts your procurement strategy from chasing the lowest price to securing true industrial-grade resin label durability. That documented manufacturing process is your brand’s ultimate insurance against costly field failures.
Before authorizing your next purchase order, evaluate potential suppliers with these five non-negotiable questions:
Do you exclusively use UV-resistant polyurethane instead of epoxy?
How is humidity controlled during your dispensing and curing phases?
What specific quality gates ensure batch-to-batch consistency?
Are your inks chemically formulated to bond perfectly with the resin?
Can you provide benchmark data on long-term adhesion?
Implement a strict sample-testing phase for new applications to verify these standards firsthand. By demanding repeatability and prioritizing robust production frameworks over upfront cost, you guarantee a premium, zero-failure finish that protects your product’s reputation for years to come.