- Know Your Needs and Where You Will Use the Stickers
Before making custom 3D stickers, you need to be clear about what you want and where you will use them. This helps guide every step after.
If the stickers are for kids, they should be fun, colorful, safe, and made from non-toxic materials.
If the stickers are for electronics or luxury brands, they should look modern, simple, and high-end, with strong and long-lasting materials.
Indoor stickers don’t need to resist weather, so focus on good looks and creative design.
Outdoor stickers need to be waterproof, UV-resistant, and scratch-resistant. For example, stickers for cars must handle sun, wind, and rain, and be easy to remove without hurting the paint.

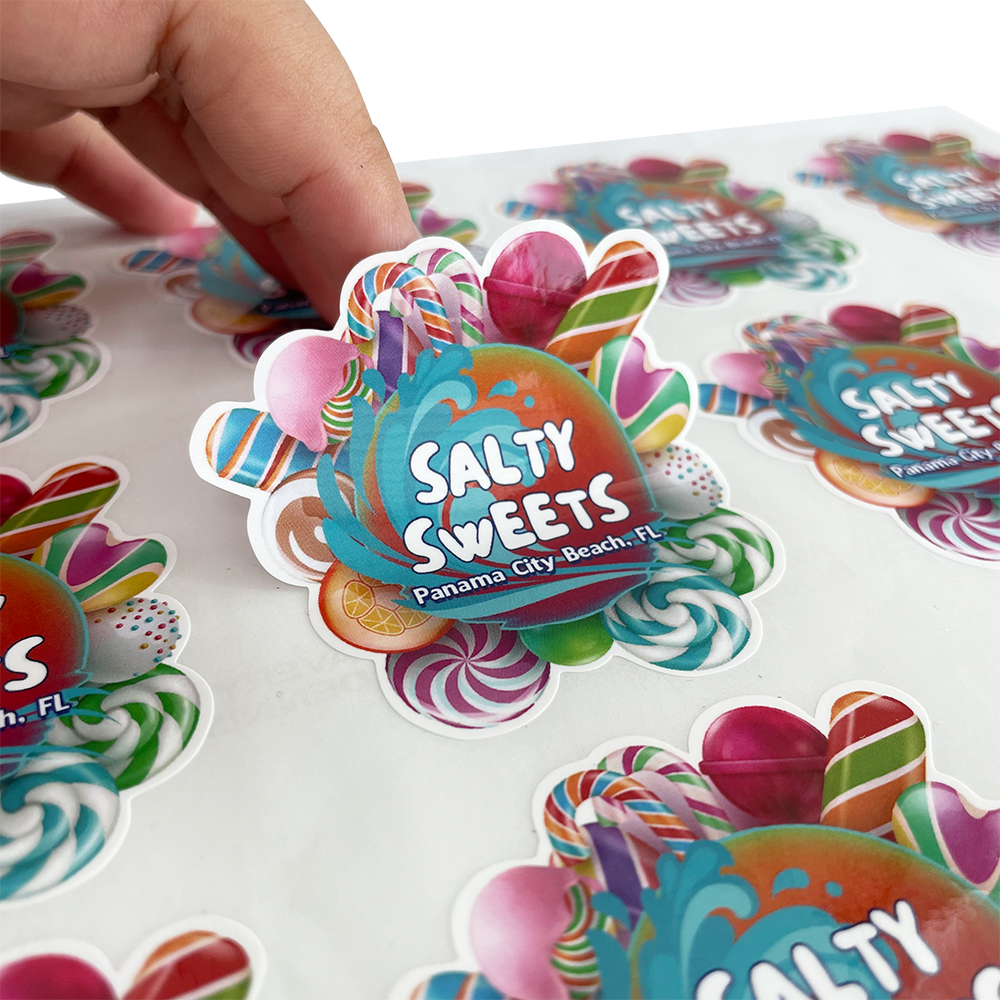
- Carefully Design the 3D Look
Design is the heart of 3D stickers. The image or pattern should match the customer’s interests and the use.
For cultural products, you can use traditional elements and add 3D depth to show rich details.
For game merchandise, use bold and cool 3D designs like characters or items to attract fans.
Make sure the 3D shape is not too high (it might break easily and cost more), and not too flat (it won’t look 3D). Also, use shadows and colors to make the design look more real.
Use professional design software to create high-quality files. The resolution must be high so the sticker doesn’t look blurry or distorted.
- Choose the Right Material and Process
(1) Material Types and Their Use
Different materials affect how the sticker feels, how long it lasts, and the cost:
PVC: Low cost, waterproof, flexible — good for indoor use.
PET: Clear, strong, UV-resistant — good for electronics.
Acrylic: Hard, shiny, gives a high-end look — great for luxury stickers.
Silicone: Soft, stretchy — good for stickers that need to be non-slip or have special touch.
Choose the material based on how long the sticker will be used and your budget.
(2) Production Techniques and Effects
There are many ways to make 3D stickers:
Molding: Good for simple, large-quantity stickers. Low cost, but mold-making takes time.
UV printing: High-quality, complex 3D designs. Good for small, custom orders.
Epoxy (resin coating): Adds shine and depth, but hard to control thickness.
Hot stamping (foil): Adds a shiny, premium look. Great for branding or holiday stickers.
Pick the method based on the design, material, time, and budget.
- Control the Production Quality
Production turns your design into real stickers. You must check the quality closely.
During sample making, check that the design, color, size, and 3D effect match what you want.
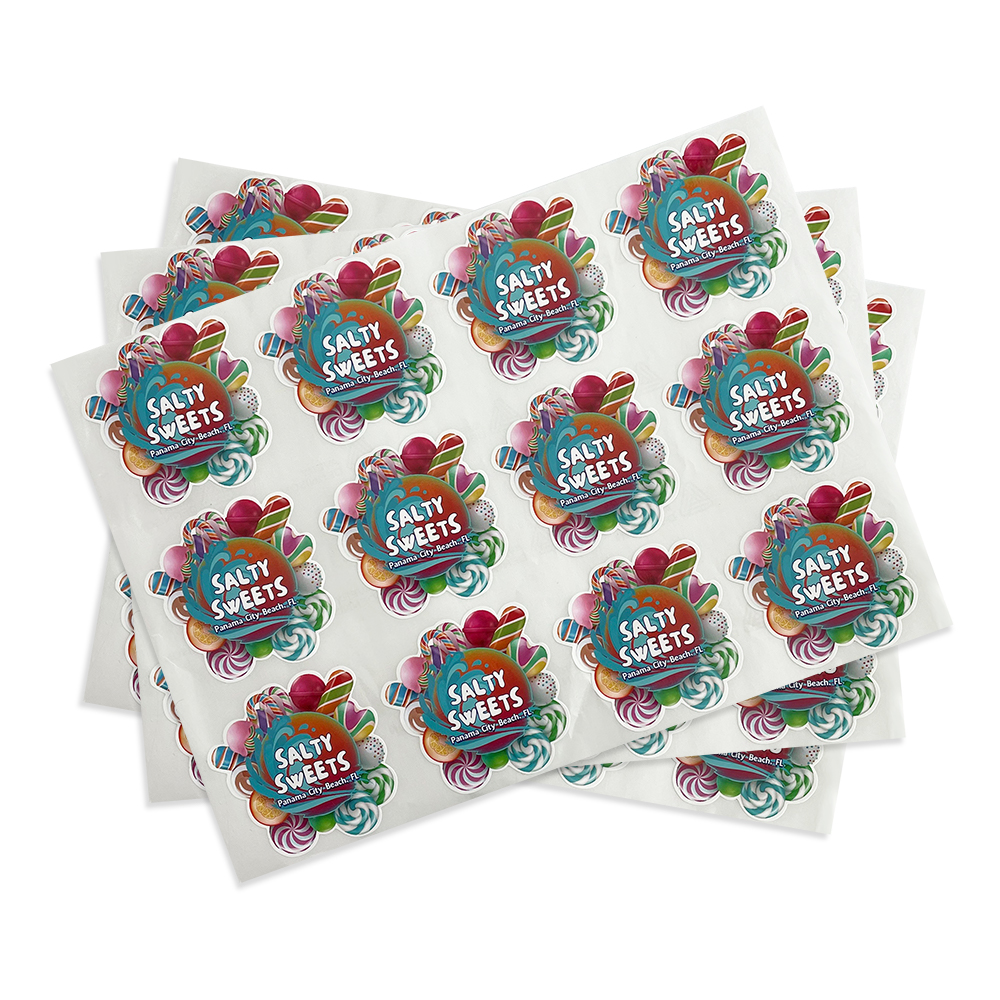
In mass production, do random quality checks. Make sure the sticker sticks well, edges are clean, and the 3D look stays good.
Also, packaging is important. Choose the right packaging to protect the stickers during delivery and storage.
- Control Costs and Avoid Risks
Custom 3D stickers must be cost-effective. Here’s how to save money:
Avoid overly complex designs.
Don’t use very expensive materials unless necessary.
Choose the right number of stickers to make—avoid making too many and wasting money.
